Step 9: Update the Application
To test the new release that you promoted, return to the Admin Console in a browser to update the application.
To update the application:
-
Access the KOTS Admin Console using
https://localhost:8800if the installation script is still running. Otherwise, run the following command to access the Admin Console:kubectl kots admin-console --namespace NAMESPACEReplace
NAMESPACEwith the namespace where the Admin Console is installed. -
Go to the Version history page, and click Check for update.
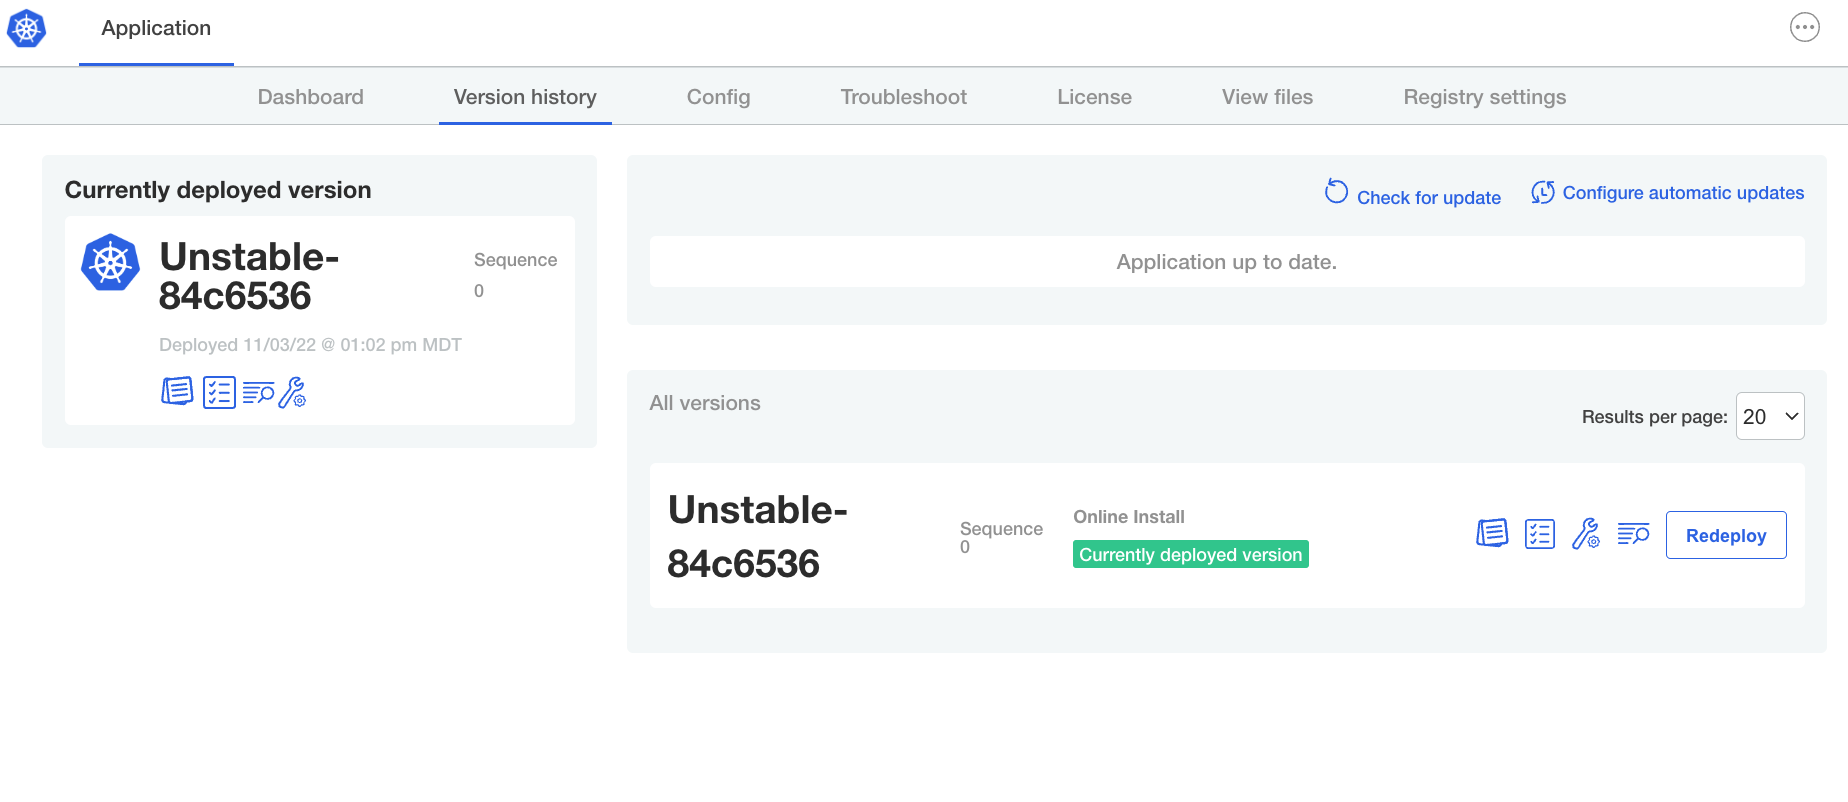
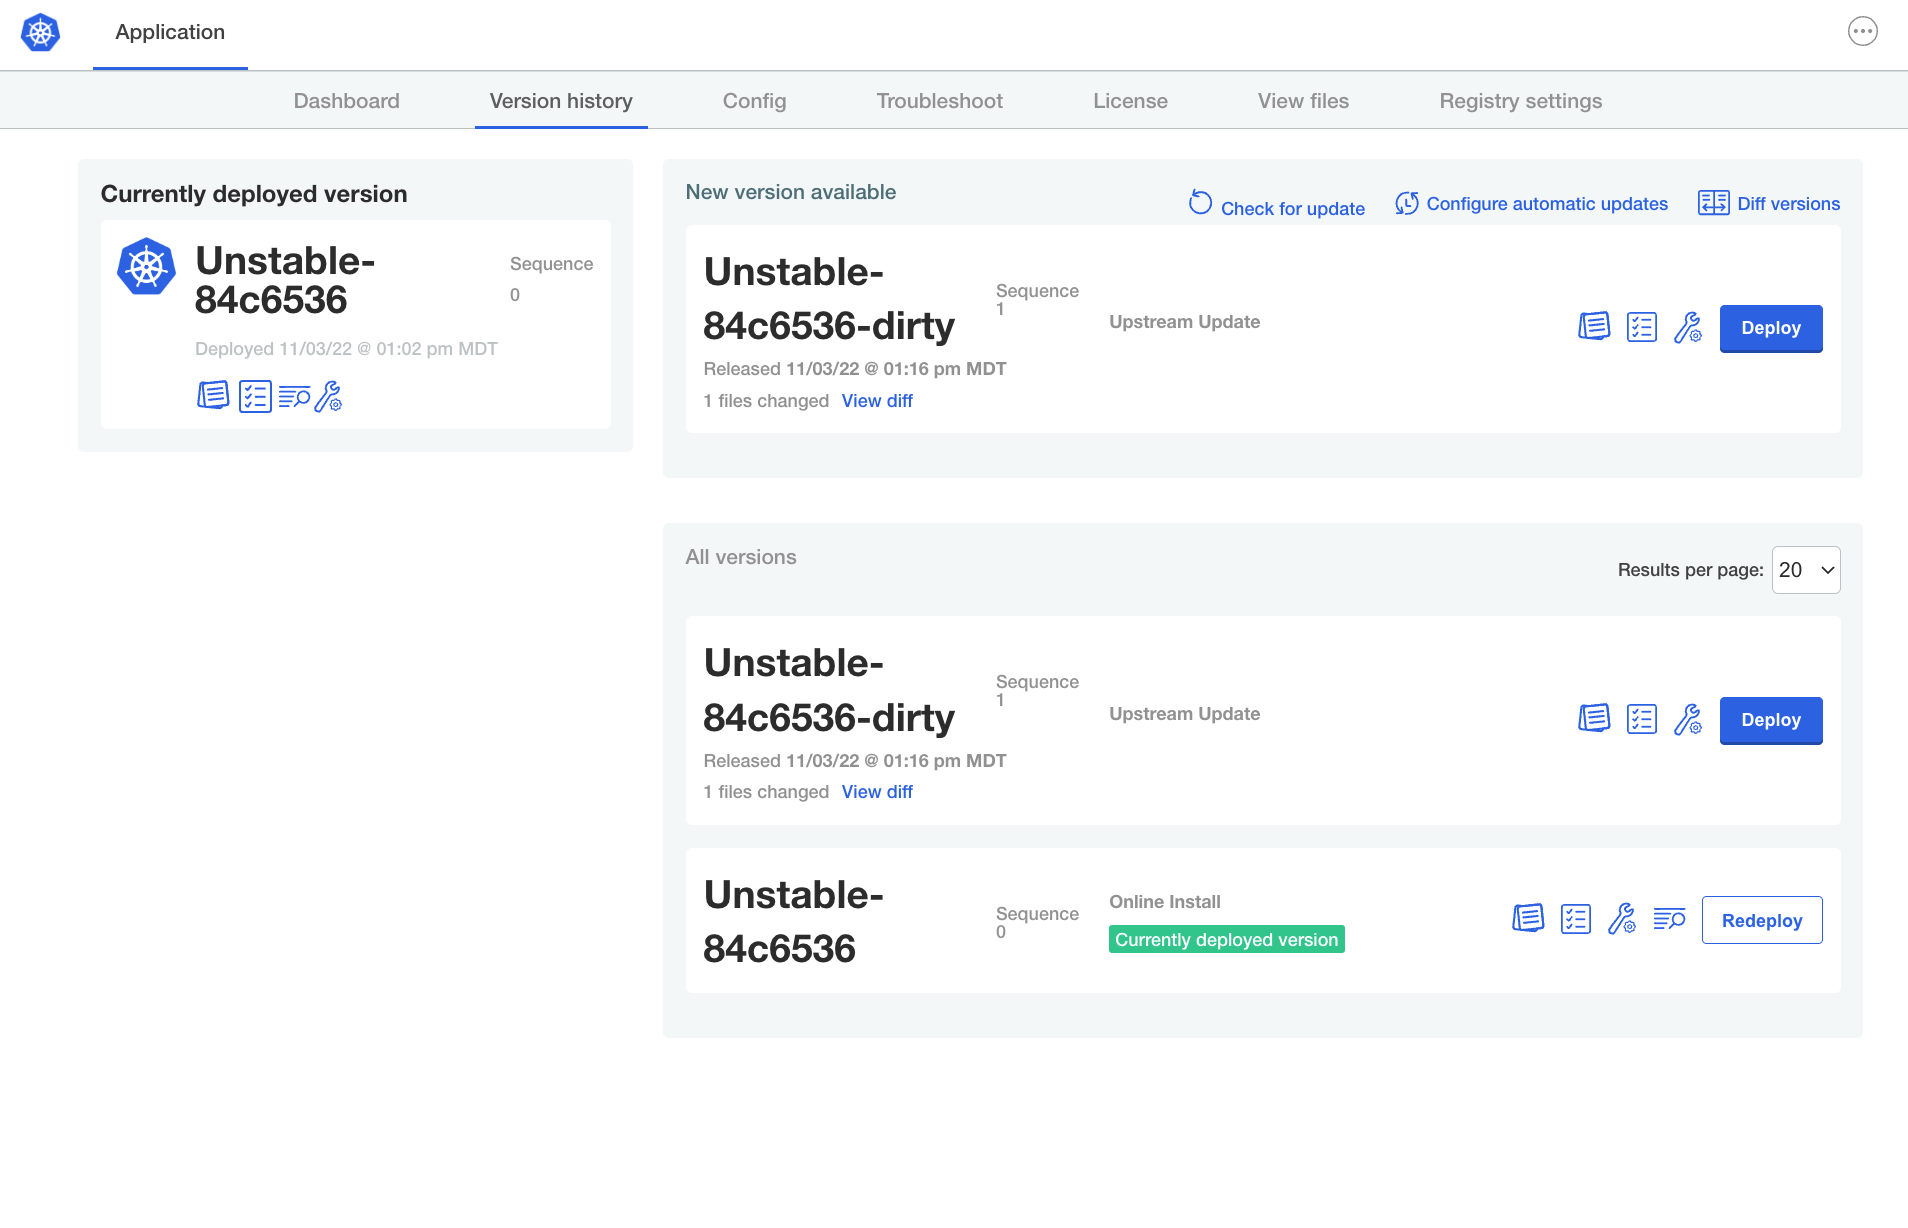
The Admin Console loads the new release that you promoted.
-
Click Deploy. In the dialog, click Yes, deploy to deploy the new version.
-
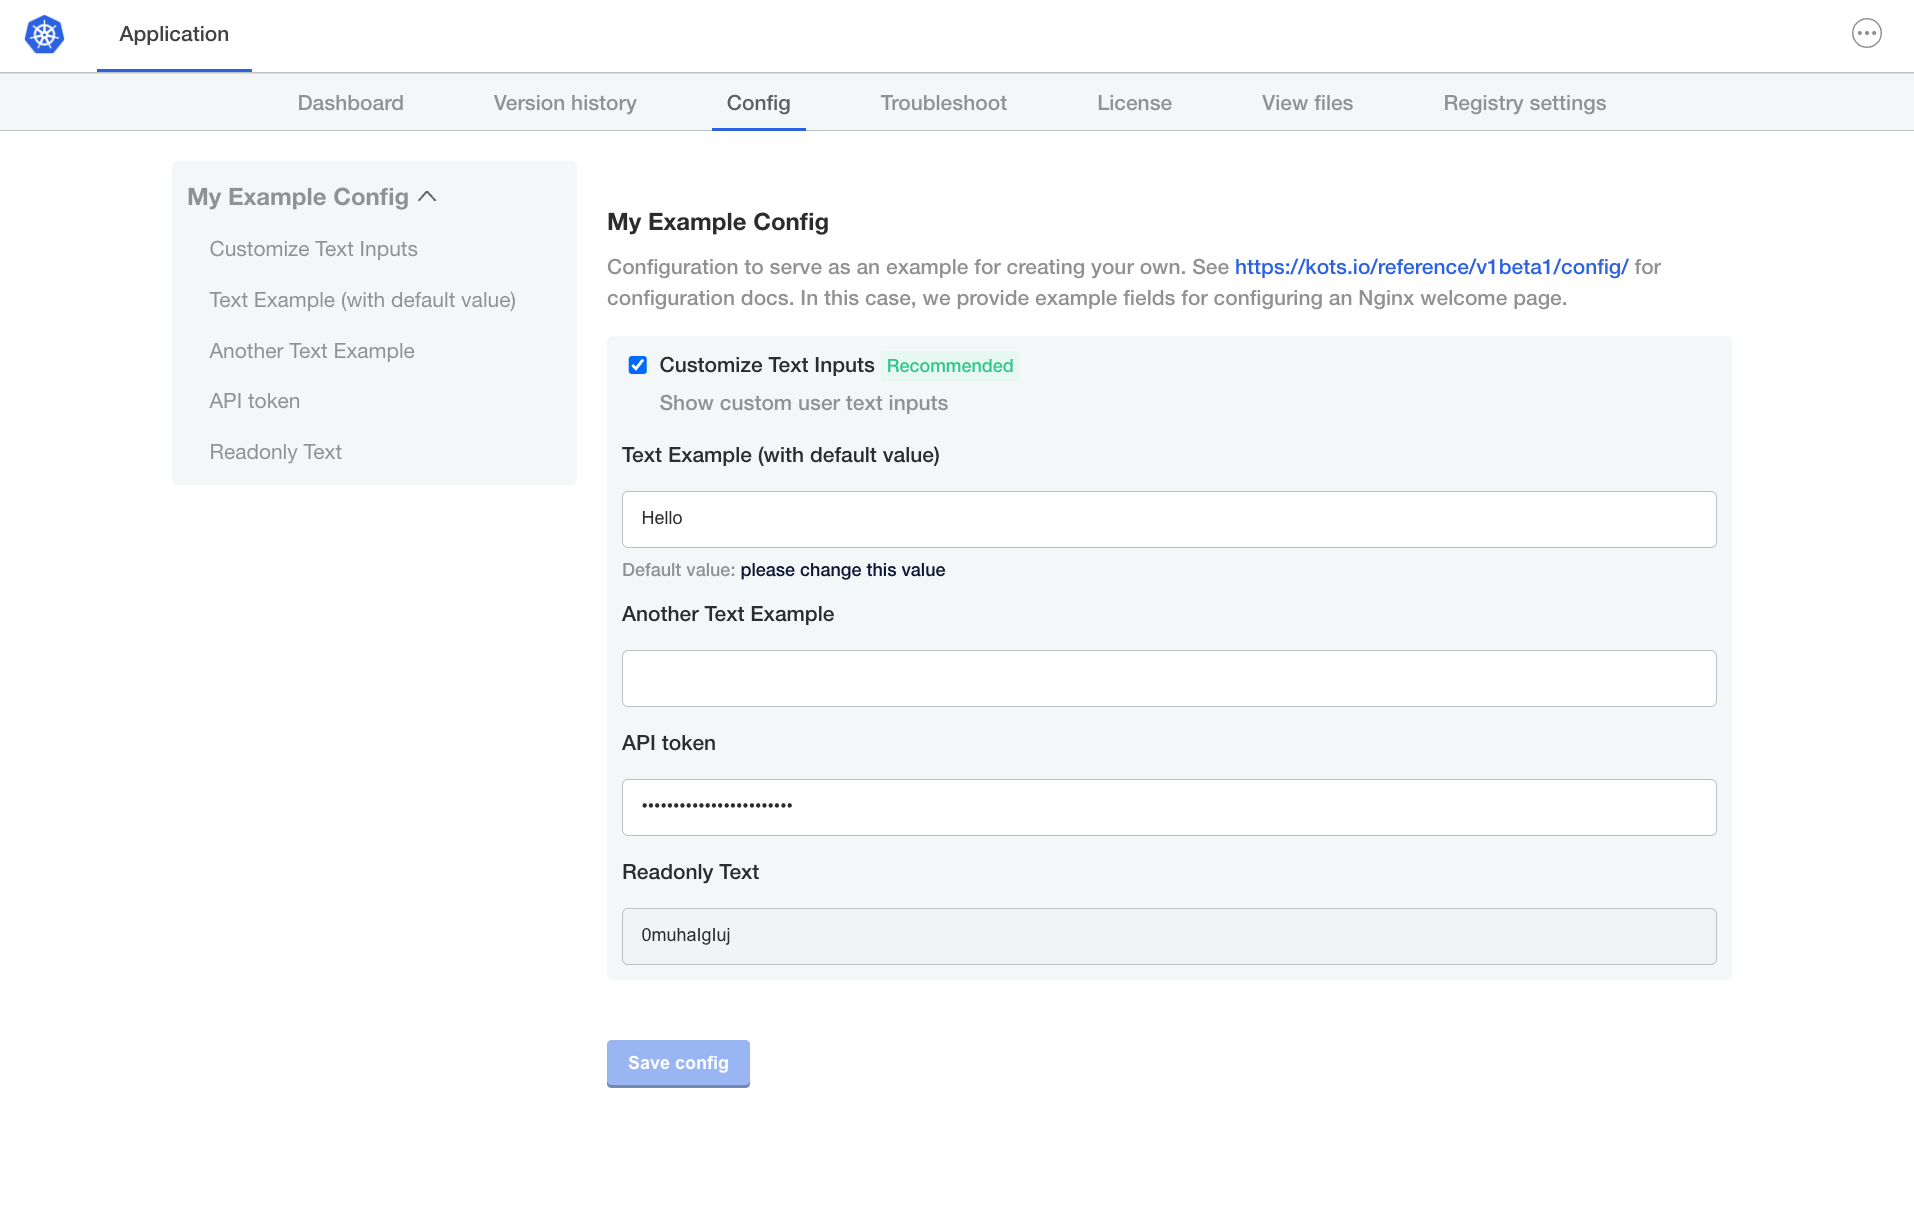
After the Admin Console deploys the new version, go to the Config page where the Another Text Example field that you added is displayed.
-
In the new Another Text Example field, enter any text. Click Save config.
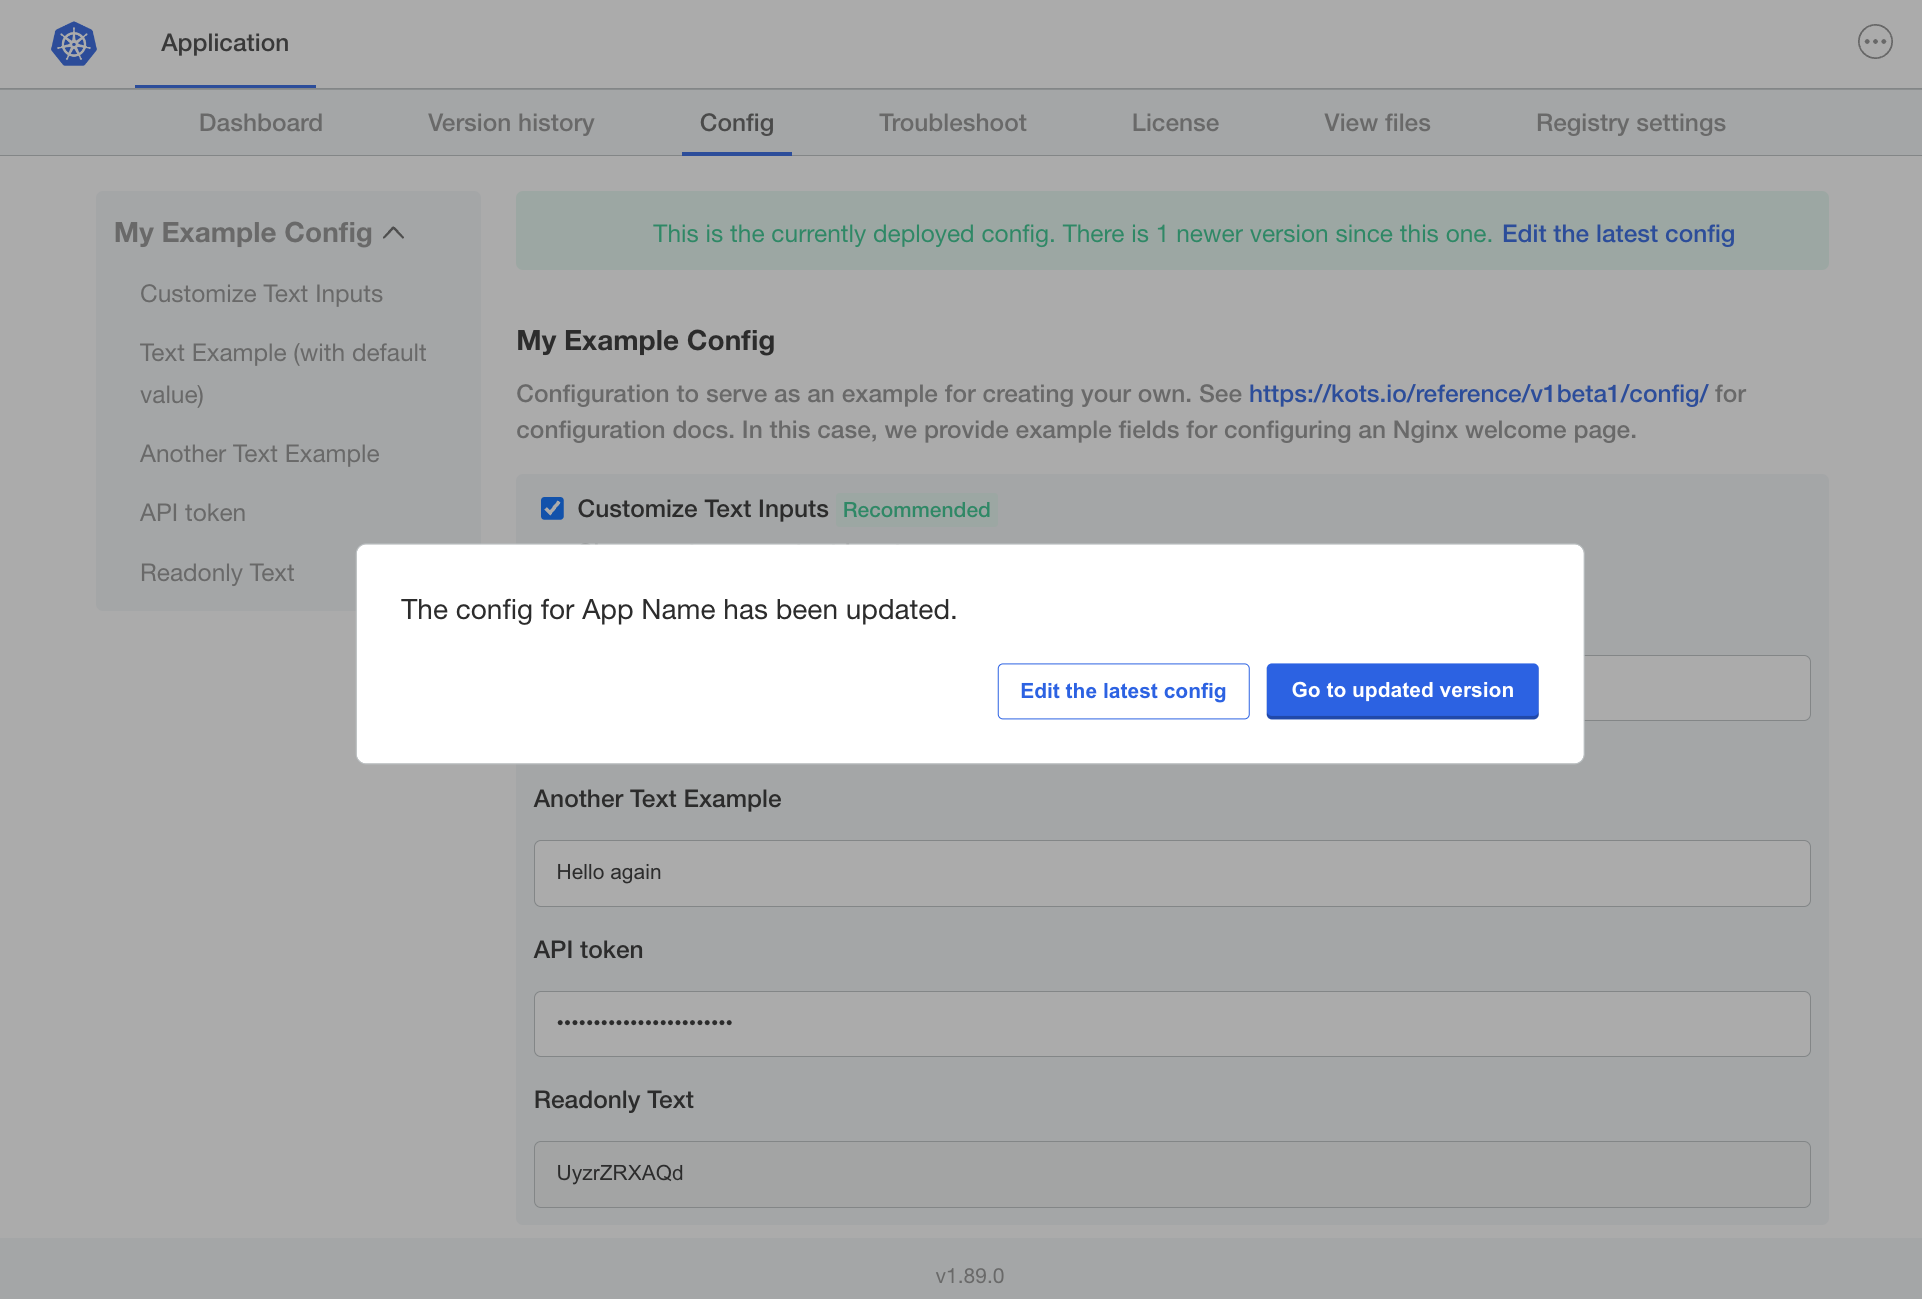
The Admin Console notifies you that the configuration settings for the application have changed.
-
In the dialog, click Go to updated version.
The Admin Console loads the updated version on the Version history page.
-
On the Version history page, click Deploy next to the latest version to deploy the configuration change.
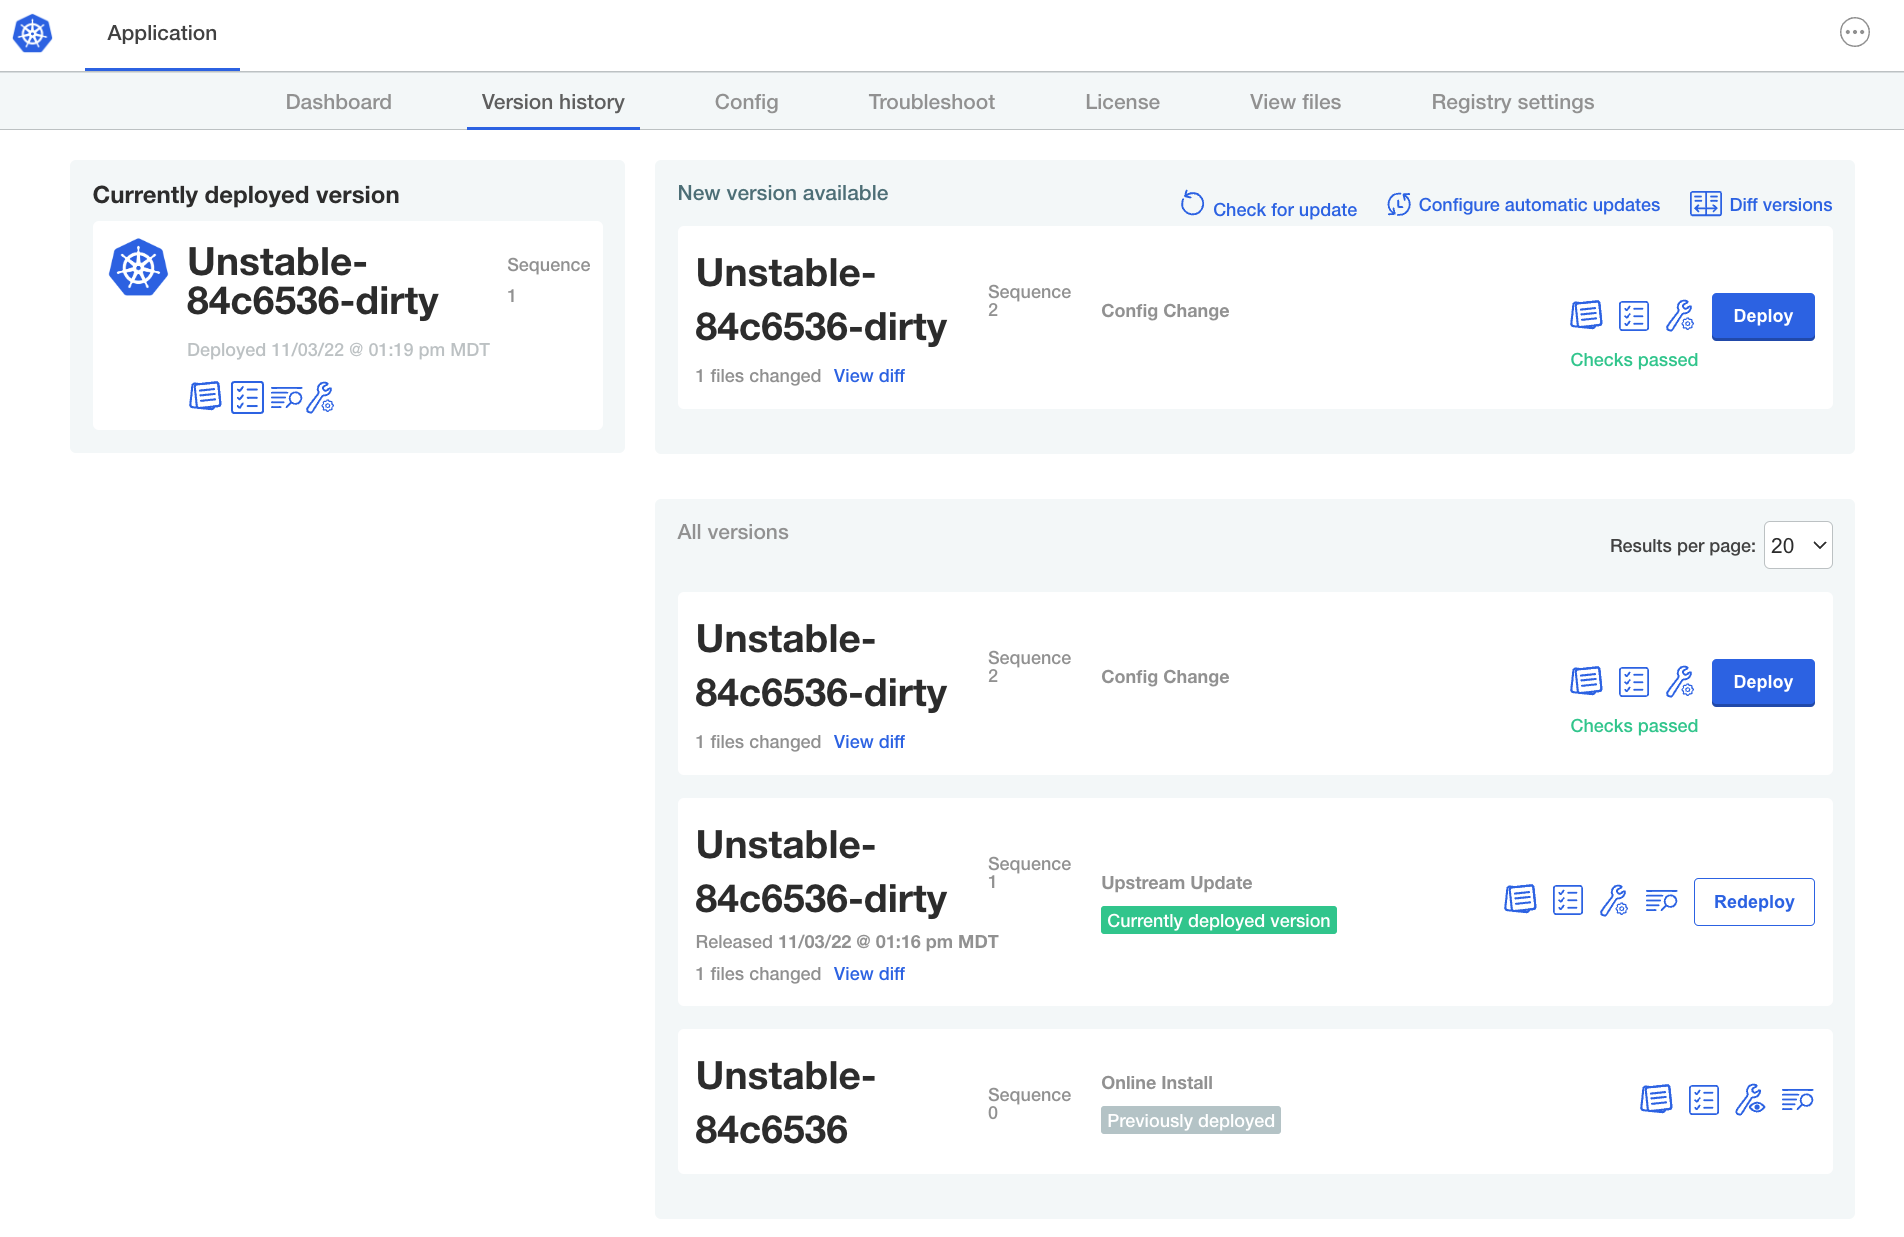
-
Go to the Dashboard page and click Open App. The application displays the text that you added to the field.
 note
noteIf you do not see the new text, refresh your browser.
Summary
Congratulations! As part of this tutorial, you:
- Created and promoted a release for a Kubernetes application using the Replicated CLI
- Installed the application in a Kubernetes cluster
- Edited the manifest files for the application, adding a new configuration field and using template functions to reference the field
- Promoted a new release with your changes
- Used the Admin Console to update the application to the latest version